Lets-Start-Coding-Maker-Screen-button-for-JumpMan
 

Creating code that can be used by someone who doesn't understand the code is the way we use most of our electronics. Now, you'll have the ability to 'peek under the hood' and see what's happening when a button press activates a code statement.

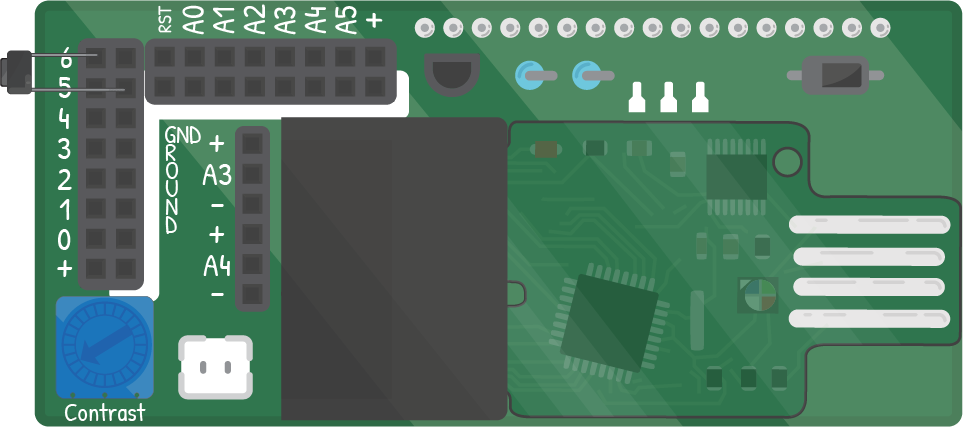
/* * The next step gives you control over the action of the program without * uploading new code to Maker Screen. * * You'll add a button to the Maker Screen and check whether it is pressed * or not using code. With that reading, you can control whether or not * the character is moving on the screen. */ #include "MakerScreenXVI.h" MakerScreenXVI lcd; int position = 0; void setup() { lcd.begin(); lcd.backlightOn(); /* * pinMode commands are always in void setup(). There are 3 types: * INPUT, OUTPUT, INPUT_PULLUP. When you set a pinMode, it's good * practice to label the pin with a comment like you see here. */ pinMode(6,INPUT_PULLUP); //button for character movement /* * Like the setCursor method, pinMode() takes two arguments: the first * tells it which pin to change the mode of, and the second tells * it what mode to put that pin in. The INPUT_PULLUP mode is * the one used for buttons, and this button is on pin 6. */ } void loop() { lcd.clear(); lcd.setCursor(position,0); //cursor in 'position', top row lcd.print("H"); delay(1000); /* * "digitalRead" checks pin 6, which will return either HIGH or LOW to * Maker Board. This value depends on whether the button's circuit is * connected (pressed and LOW) or disconnected (unpressed and HIGH). * * * LOW and HIGH do not have an absolute meaning- they are words Arduino * made up to represent inputs with only two states- on or off. You must * use LOW and HIGH and they must always be spelled in all-caps. */ if (digitalRead(6) == HIGH){ //if the button is unpressed... /* * If digitalRead(6) = HIGH, that means that the button is *not* pressed. * In that case, position should increase by 1. * Otherwise, the code between the { and } of the 'if' statement is * skipped. That way, when the button is pressed (LOW), position stays * the same. */ position = position + 1; //move the character by one to the right } if (position == 16){ //reset to 0 at the right-side of the screen position = 0; } } /* * Real-world inputs are one of the most important parts of physical * computing and part of what make microcontrollers so useful and fun. * Think about other inputs and how they could replace a button- what * about a light sensor? A slider switch? A sound trigger? * * In the above, try changing the button check to allow the position * to change only while the button is pressed by making the HIGH into * LOW and see how it effects the execution. */ //(c) 2017 Let's Start Coding. License: www.letsstartcoding.com/bsdlicense
 

As the code mentions, there are many different inputs to a system. A button is considered digital here because it can only be two things: pressed or unpressed. The other type of signals exist on a spectrum and are called analog. Think of a light level in a room: it has an infinite number of steps between pitch black and absolutely bright.