
Maker Screen Alarm CLock: Guided Build
Introduction
Welcome to the Build-Your-Own Alarm Clock track! A track of code means that you'll walk through the building of a code project step-by-step, the way a more experienced programmer might. You'll see design decisions and new concepts pop up as you work toward a full-featured alarm clock that you can customize.
The lessons for the alarm clock are as follows:
1) Formatted Timer: Learn to format your display and use interacting variables.
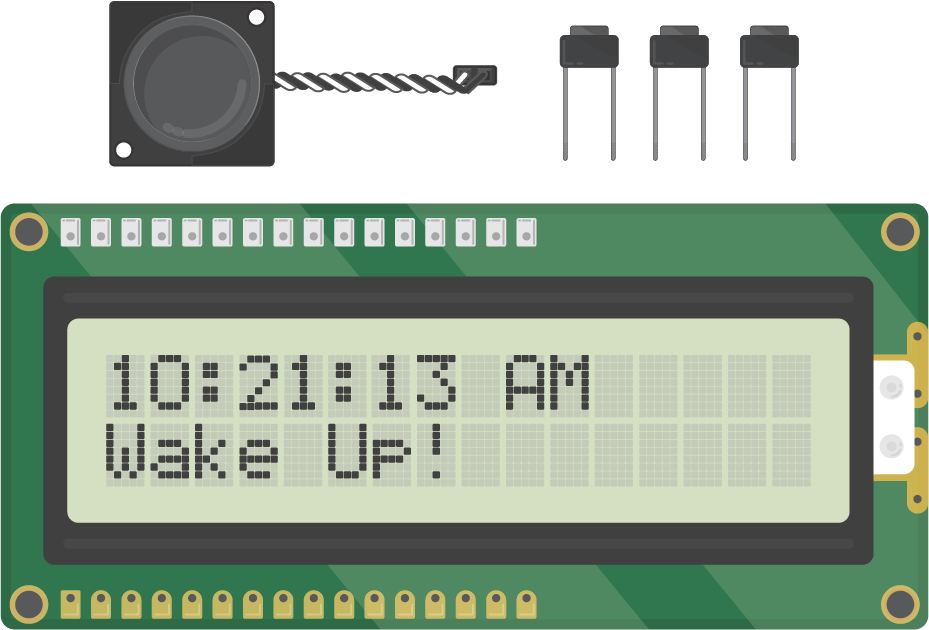
2) Software Clock: Use code to ensure the clock rolls over from 12:59 to 1:00 and keeps track of AM/PM.
3) Message Alarm: Create an alarm variable and a customized message to print at that time.
4) Sound Alarm: Add the speaker to your project so the alarm can beep.
5) Time-Setting Buttons: Use two buttons to select and then set the time on the clock.
6) Alarm-Setting Button: Add a third button that allows you to toggle between alarm-setting and time-setting modes.
Design
Each step of the alarm clock addresses one core feature of the finished project. You will see the finished code for each step in the window. Read through it, paying special attention to what has changed since the last step. If you want to learn more about a concept, click it in the "Topics Covered" section of the page.
If you really want to understand the code that goes into something as simple as an alarm clock, allocate an hour or more per lesson. Even a single line of code can take many brain cycles to understand. Keep at it!
SETUP
You can do 100% of your code for this project online in the following web pages. That means you have to get your computer set up to program Maker Board from the web. If you haven't set up your Maker Board to program from the web, you can do it at www.letsstartcoding.com/start.
Get Started
All set up? Great! Click the button below to get started with lesson one.
